Transforming More Than Just Content
Tools to transform the distance learning experiences of your students
by Haley Huberty, M.Ed.
When I first began incorporating digital resources into my fourth-grade classroom, I’ll be honest … I didn’t know what I was doing.
I was searching for tools that would transform direct instruction into digital instruction. What I didn’t realize was that the tools I was using had the power to transform not just the content, but the learning experiences of my students.
Read on to discover my three favorite tools and how they can be used to support distance learning. But most important, I’ll encourage you to use these tools to redefine the role of a student in the learning process.
Explain Everything
Creation: Explain Everything is a whiteboard app that allows you to record annotations and voiceovers. You can use this app to create instructional videos of math strategies, annotation of primary documents, or explanations of scientific processes.
Accessible by App Store, Google Play, or web, Explain Everything is free for the basic account, which allows you to create up to three projects. If you decide that you can’t live without this tool, the monthly cost for an educator license is less than your average Starbucks drink.
Transformation: You can easily use Explain Everything to record a lesson, share it on Google Classroom, and then provide follow-up practice problems. That’s what I did when I first started! I encourage you, however, to use instructional videos as resources to support autonomous learning rather than a method to transmit knowledge from the source to students.
A resource is defined as “a stock or supply of money, materials, staff, and other assets that can be drawn on by a person or organization in order to function effectively.” That definition inherently implies that people have the autonomy to evaluate and identify available resources that will aid in their success.
To begin, curate a library of instructional videos that are available to students as they complete projects. Share videos that present multiple strategies or perspectives for the same topic and, as a whole, can support a variety of student needs. Then, allow students to choose the videos that allow them to meet their goals.
ThingLink
Creation: ThingLink allows you to create interactive digital media. After uploading a video or image, just add tags to display text, images, videos, or content from outside sources. Then, use the tour mode to guide students through a series of ThingLinks.
You can easily link finished products to assignments or project instructions for students. With a built-in text-to-speech reader on every tag, this free resource is appropriate for students of all ages. Plus, because ThingLink allows students the opportunity to explore content in a novel way, it helps maintain engagement in a digital space.
Transformation: This tool isn’t for you, but for your students. As John Dewey states, “give the pupils something to do, not something to learn; and the doing is of such a nature as to demand thinking; learning naturally results.”
In the students’ hands, ThingLink becomes a tool to synthesize, evaluate, and help make connections. Rather than completing a written summary or multiple choice quiz, students now have a multidimensional representation of their understanding and meaning.
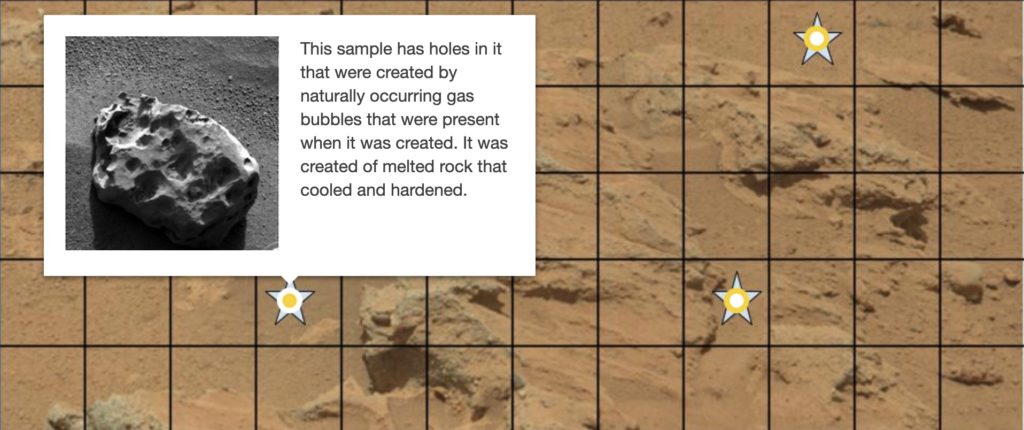
For more ideas on how students can use ThingLink, check out these recommendations from the Founder and CEO of ThingLink, Ulla-Maaria Koivula.
HyperDocs
Creation: With the assistance of a HyperDoc (an interactive document), you can provide students with all of the resources and guidelines you need to engage them in a learning task.
In a HyperDoc, you can see images, videos, tables, hyperlinks to web pages and other Google documents, while also providing spaces for reflection, synthesis, and collaboration.
Although HyperDocs can be created with any word processing program, they are most effective when created as a Google Doc, which allows you to integrate all G Suite for Education tools.
Transformation: HyperDocs can go beyond a few links and can be designed to help students think critically, collaborate with others, and demonstrate creativity.
At Creative Learning Systems, we do this by using a five-step framework to facilitate digital project-based learning—we call it the EP(D/R)S project cycle.
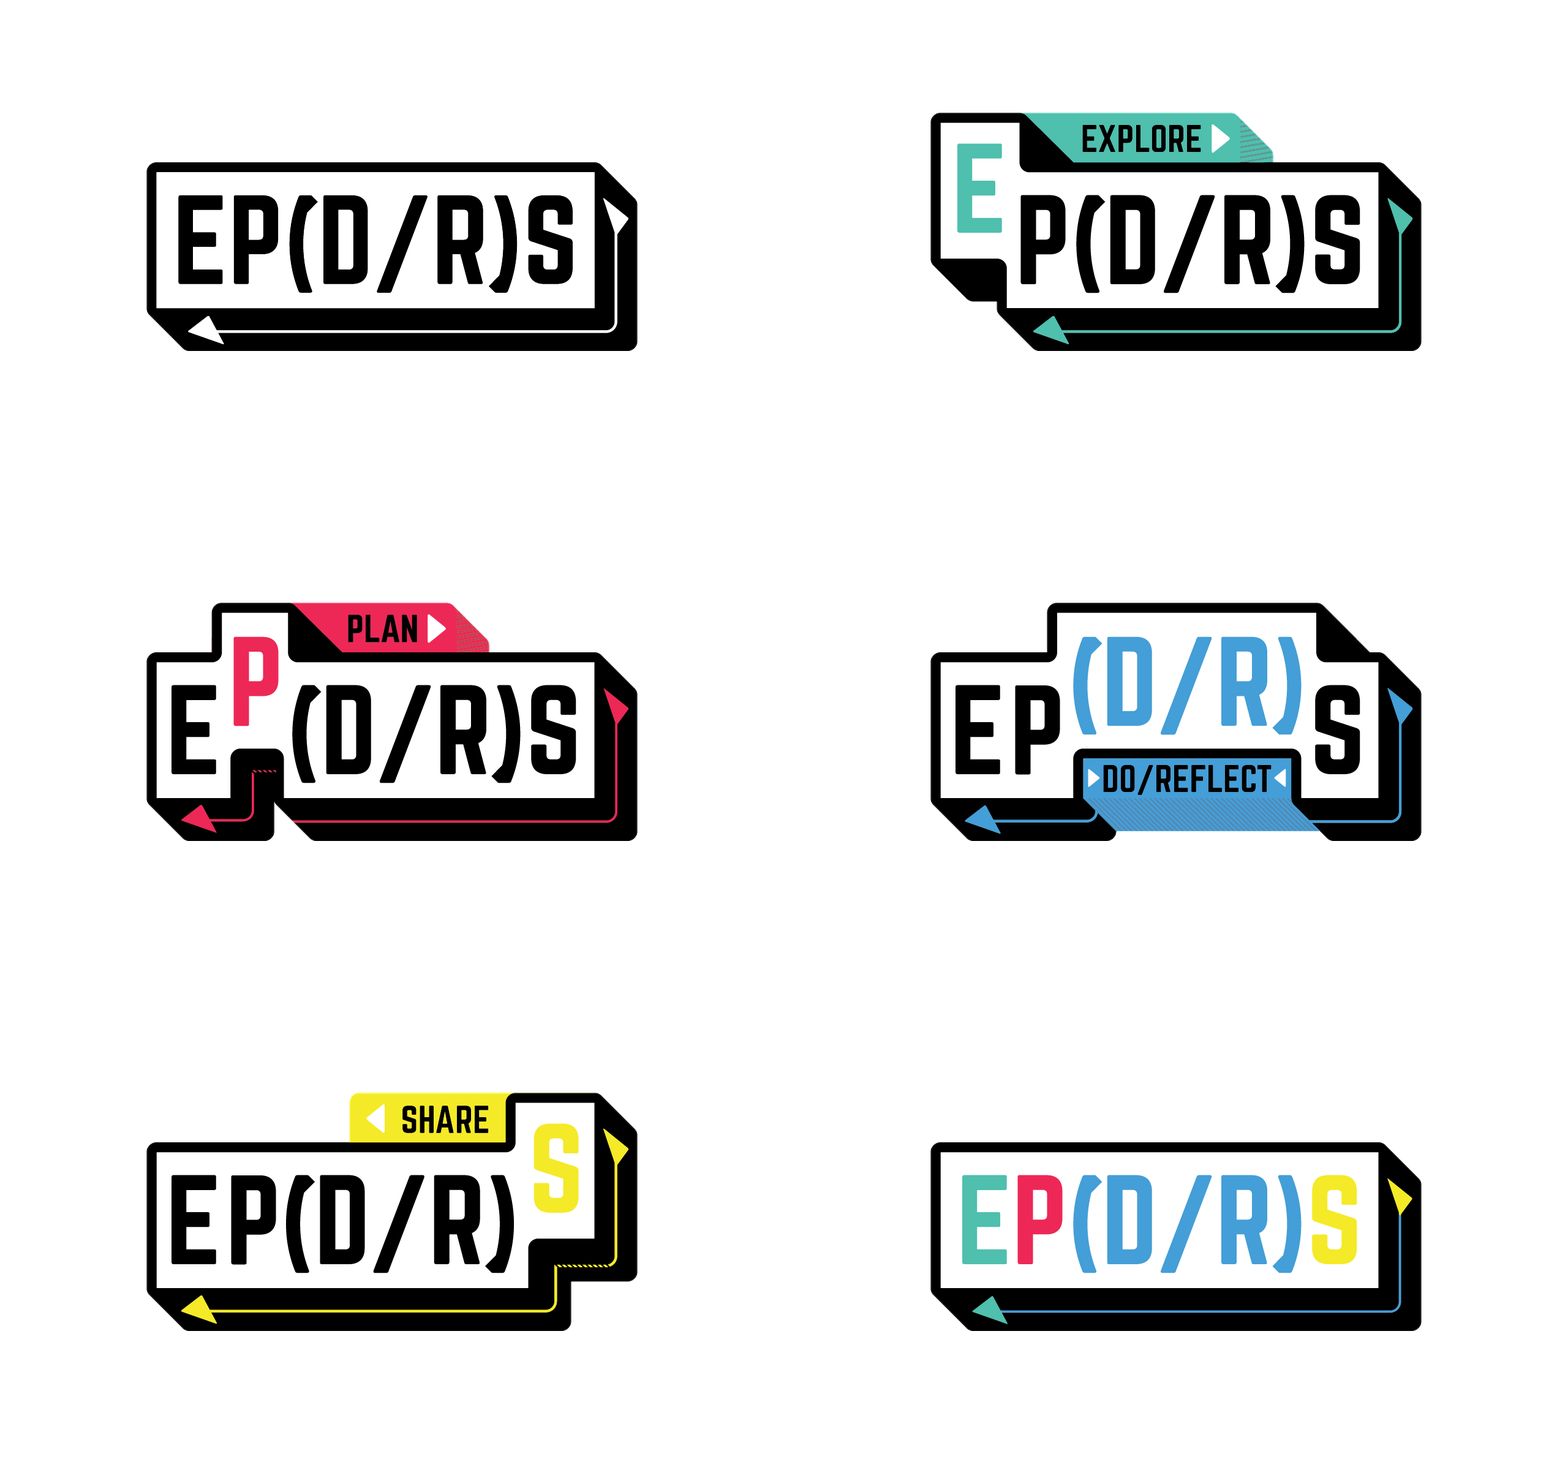
- Explore: Students explore a technology, resource, or concept.
- Plan: Once students identify a challenge or problem to solve, they develop a project plan and SMART objective they’ll use to determine their success criteria.
- Do: Students gather additional resources that will help them develop their skills and understanding, then begin doing the actual project work.
- Reflect: As they progress toward their goal, students should regularly reflect to monitor their work and revise their plan.
- Share: Once the project is complete, students share what they’ve learned with their peers and authentic audiences.
Get started building your own HyperDocs with advice from the founders, Lisa Highfill, Kelly Hilton, and Sarah Landis.
As you transition digital learning, it’s easy to become overwhelmed with the vast number of tech tools flooding education blogs and your Twitter feed.
If you’re not ready to try something new, consider how you can use a familiar tool to curate resources for students to use, to expand the ways in which students demonstrate their learning, and to guide students through project-based learning.
Regardless of what tool you choose, remember that it’s less about what you can create with it, and more about how you can use the tool to reposition students as the lead learners in the digital space.


